使用Let's Encrypt免费证书实现Nginx站点的HTTPS化
这篇文章,向大家分享如何使用Let's Encrypt的免费证书来实现Nginx网站的HTTPS化。
在开始之前,先让我们来了解下,什么是HTTPS?为什么要配置HTTPS?
HTTPS 简介
HTTPS 超文本传输安全协议(英语:HyperText Transfer Protocol Secure,缩写:HTTPS;常称为HTTP over TLS、HTTP over SSL或HTTP Secure)是一种通过计算机网络进行安全通信的传输协议。HTTPS开发的主要目的,是提供对网站服务器的身份认证,保护交换数据的隐私与完整性。HTTPS协议在1994年首次被网景公司(Netscape)提出,随后扩展到互联网上。起初因为部署它需要购买证书颁发机构(CA)颁发的证书,以及各家浏览器的支持不尽如人意,推广的并不是很好。只被使用在支付等安全性要求比较高的业务场景中。
2000年以来,随着人们对信息安全的重视,HTTPS逐渐的被广泛使用。近年来,HTTPS已逐渐成为各大网站访问的默认标准协议。它与HTTP相比,主要优势在安全方面,它将HTTP协议传输的明文信息使用SSL/TLS协议[0]进行了加密处理。传输起来,更安全可靠,可避免中间信息被篡改,如无良的运营商劫持,乱加广告。
关于HTTPS本文不再做过多介绍,如果想了解更多,可阅读阮老师的HTTPS升级指南系列文章[1]
从上边的描述中,我们知道在部署HTTPS时,需要证书颁发机构签发的证书。随着HTTPS的普及,如今有了许多免费的证书的颁发机构,如 StartSSL、TRUSTAsia、Let's Encrypt以及国内的各云平台等。这些免费的HTTPS证书,对于我们个人站来说足够用,如果需要更复杂的功能或高级别的证书支持,可选择更加专业的商业版证书。
下面我们来说下,开始使用Let's Encrypt提供的免费证书实现Nginx站点的HTTPS化。
HTTPS 部署
下面我们使用如下环境做部署:
CentOS Linux release 7.4.1708 (Core)
nginx version: nginx/1.15.8
安装需要的工具
Let's Encrypt 给我们提供了一个自动化生成证书的工具certbot[2]。我们可以直接通过 yum 安装:
yum install -y certbot
yum install -y python2-certbot-nginxpython2-certbot-nginx为certbot提供的自动操作nginx配置文件的工具。
生成证书
安装版nginx
若你的nginx是通过yum或rpm包的方式安装,那么可以通过下面两种方式的命令来自动生成证书。
第一种,生成证书并自动修改nginx配置;
certbot --nginx
certbot --nginx rollback # 回滚配置
第二种,只生成证书,不修改nginx配置;
certbot certonly --nginx在执行命令时,可能会遇到如下错误:
ImportError: No module named 'requests.packages.urllib3'是因为Python模块版本不兼容问题导致,将如下包卸载重新安装即可:
pip uninstall requests
pip uninstall urllib3
yum remove python-urllib3
yum remove python-requests
yum install python-urllib3
yum install python-requests
yum install certbot
根据提示,根据你的实际需要逐步选择即可。其中填写邮箱时,尽量填写自己的常用邮箱,let机构会想你邮箱发送证书过期提醒等事宜。
源码版nginx
若你使用的是无需安装的源码版,则可使用如下命令获取证书:
mkdir -p /var/www/example
certbot certonly --webroot -w /var/www/example -d example.com -d www.example.com
--webroot 模式会在 /var/www/example 中创建 .well-known 文件夹,这个文件夹里面包含了一些验证文件,certbot 会通过访问 example.com/.well-known/acme-challenge 来验证你的域名是否绑定的这个服务器。以确定你对该域名的拥有权。
--nginx 模式时,该验证会自动通过nginx的服务来实现。
这种验证方式,Let机构叫做ACME协议[3]。只要遵循该协议,就可以获取Let结构签发的证书。除了官方的certbot工具外,也有很多遵循 ACME协议的第三方自动化工具,如acme.sh。
修改配置
如果使用自动修改配置的话,certbot 已为我们添加好证书等相关信息。大致配置如下:
# configuration of the server
server {
    # the port your site will be served on
    # the domain name it will serve for
    server_name example.com ; # substitute your machine's IP address or FQDN
    charset     utf-8;

    # max upload size
    client_max_body_size 75M;   # adjust to taste

    # Django media
    location /media  {
        alias /opt/example/uploads;  # your Django project's media files - amend as required
    }

    location /static {
        alias /opt/example/collect_static; # your Django project's static files - amend as required
    }

    # Finally, send all non-media requests to the Django server.
    location / {
        proxy_pass  http://127.0.0.1:8080;
        proxy_set_header Host $host;
        proxy_set_header X-Real-IP $remote_addr;
        proxy_set_header X-Forwarded-For $proxy_add_x_forwarded_for;
    }

    listen 443 ssl; # managed by Certbot
    ssl_certificate /etc/letsencrypt/live/www.example.com/fullchain.pem; # managed by Certbot
    ssl_certificate_key /etc/letsencrypt/live/www.example.com/privkey.pem; # managed by Certbot
    include /etc/letsencrypt/options-ssl-nginx.conf; # managed by Certbot
    ssl_dhparam /etc/letsencrypt/ssl-dhparams.pem; # managed by Certbot


}
server {
    if ($host = example.com) {
        return 301 https://$host$request_uri;
    } # managed by Certbot

    listen      80;
    server_name example.com ;
    return 404; # managed by Certbot
}

server {
    server_name  www.example.com;
    rewrite ^/(.*)$ https://example.com/$1 permanent;

    listen 443 ssl; # managed by Certbot
    ssl_certificate /etc/letsencrypt/live/www.example.com/fullchain.pem; # managed by Certbot
    ssl_certificate_key /etc/letsencrypt/live/www.example.com/privkey.pem; # managed by Certbot
    include /etc/letsencrypt/options-ssl-nginx.conf; # managed by Certbot
    ssl_dhparam /etc/letsencrypt/ssl-dhparams.pem; # managed by Certbot

}
server {
    if ($host = www.example.com) {
        return 301 https://$host$request_uri;
    } # managed by Certbot

    listen       80;
    server_name  www.example.com;
    return 404; # managed by Certbot
}
后边带有 managed by Certbot 注释的为 certbot 添加。
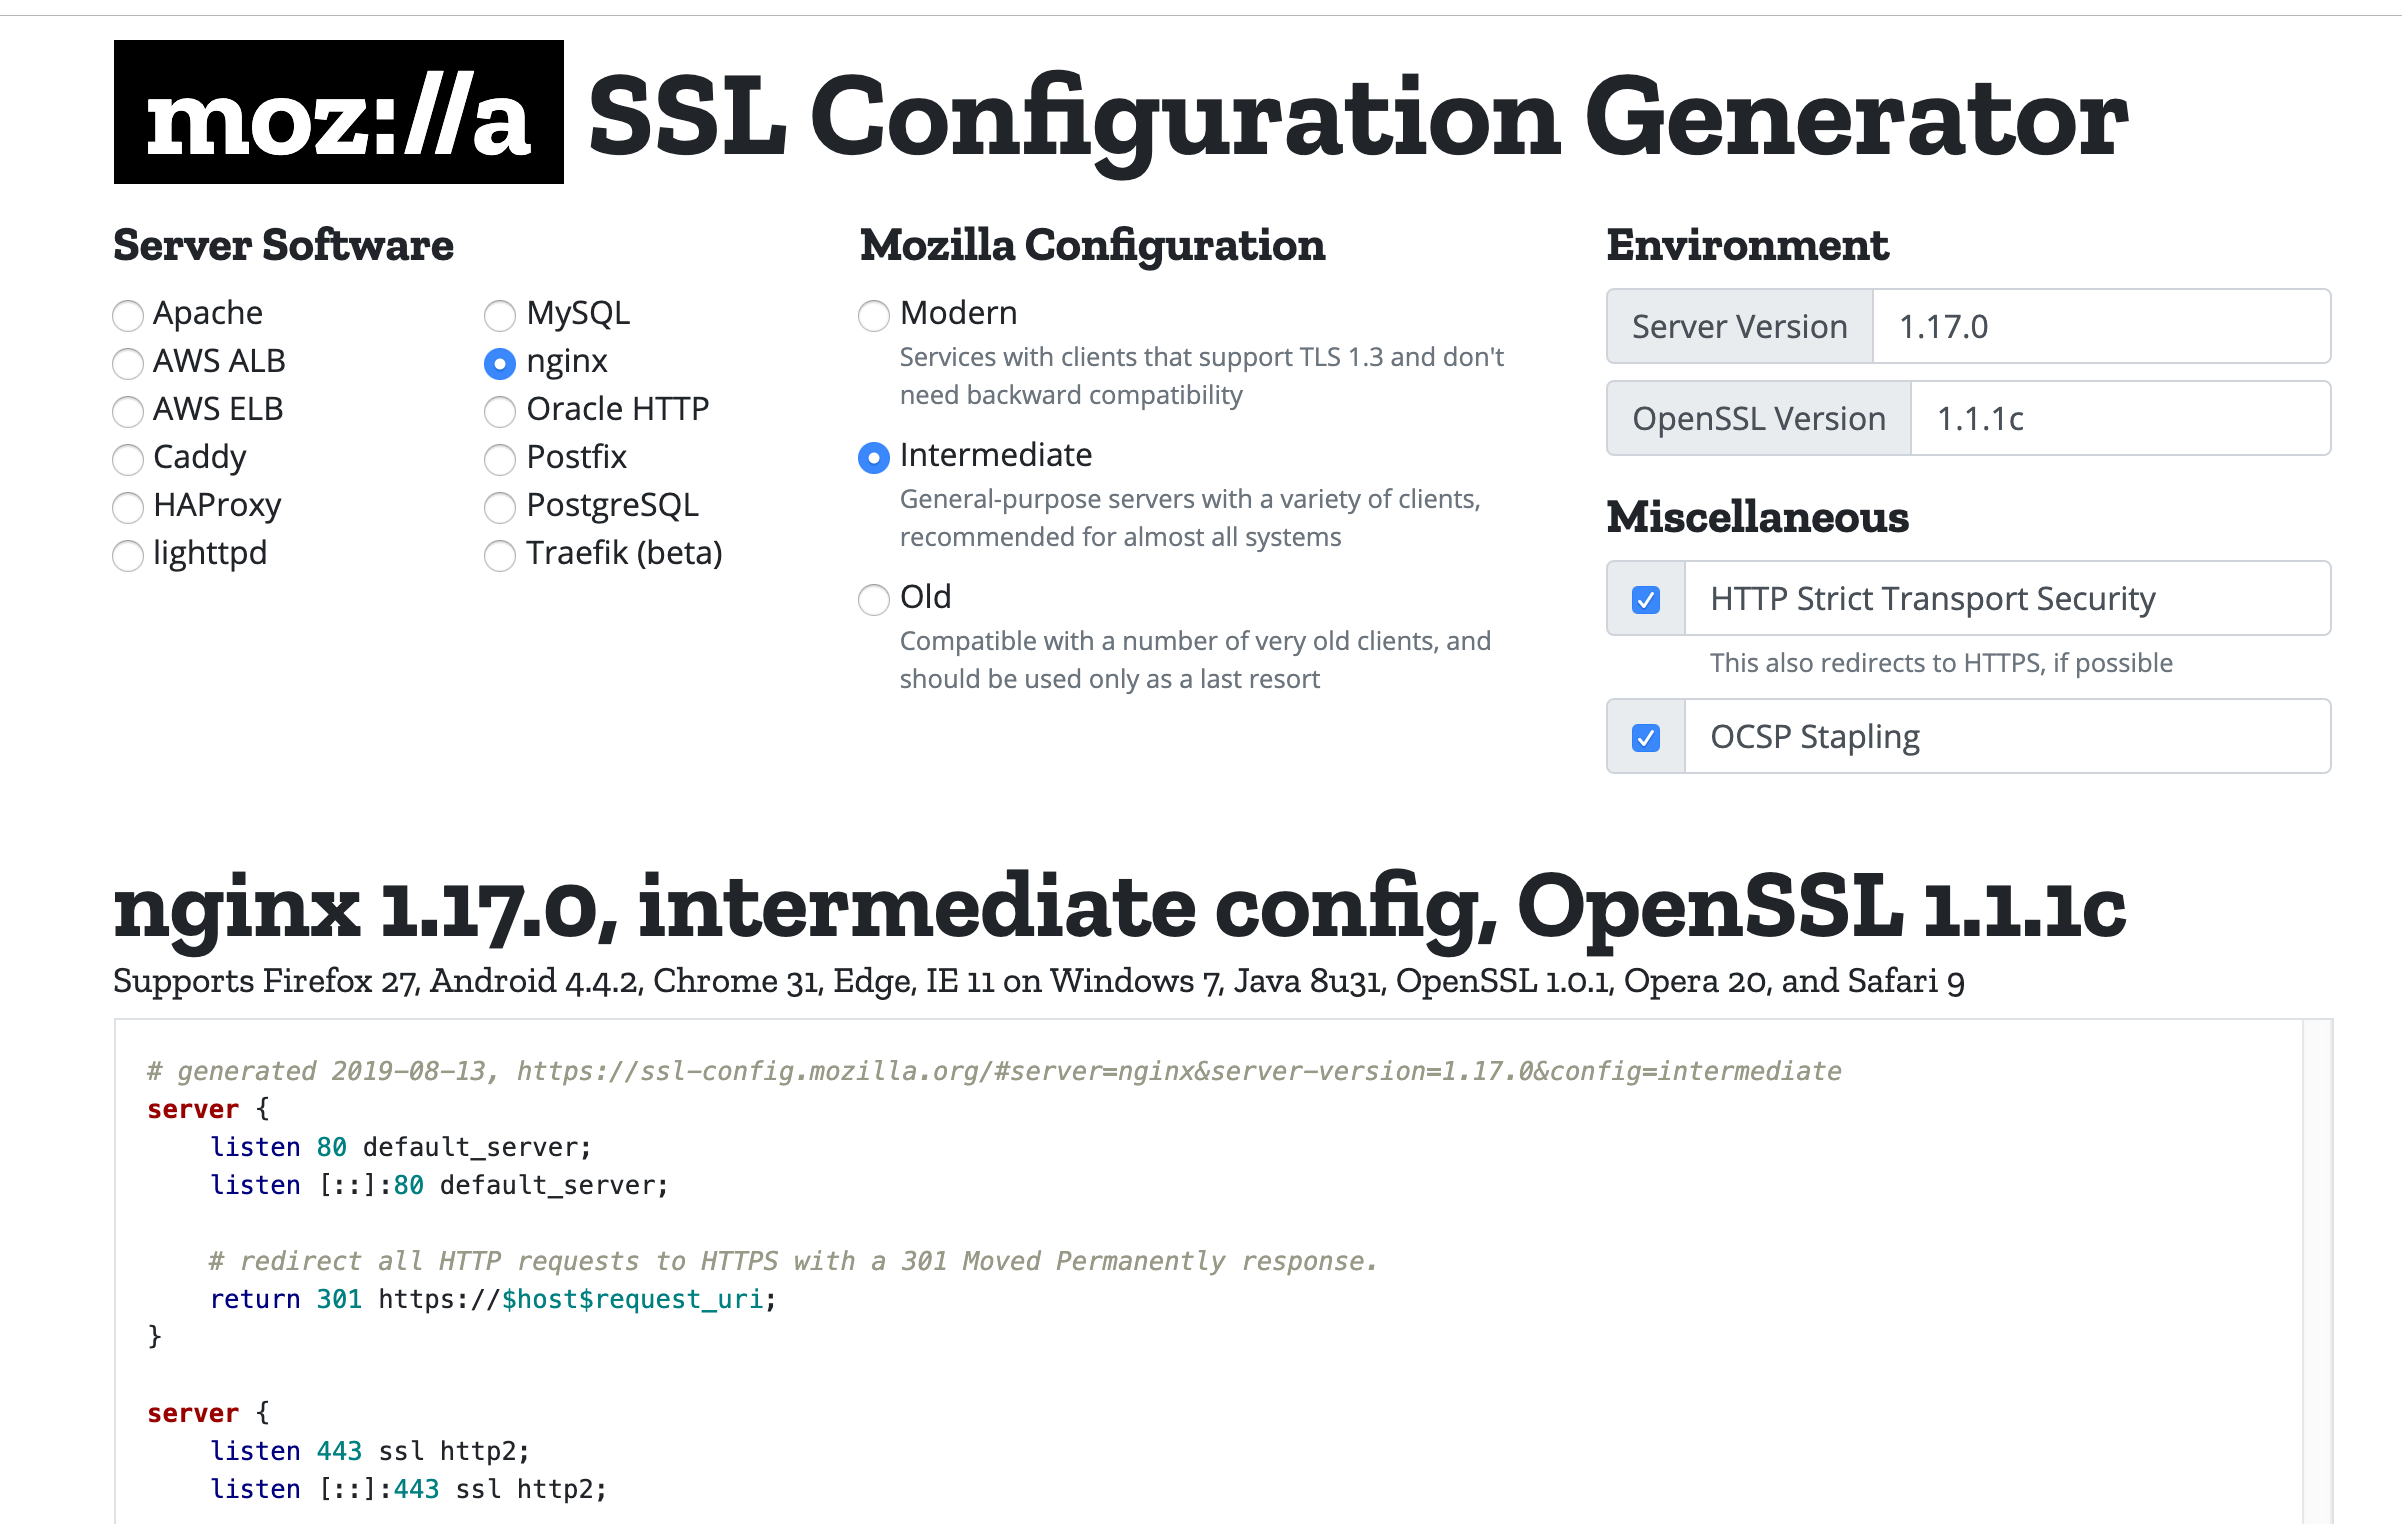
若我们自己添加的话,可参考Mozilla给出的SSL配置最佳实践

证书续签
Let机构颁发的证书有效期只有3个月,我们需要在它到期之前续签。certbot工具提供了一个简单的命令来实现续签,如下:
certbot renew我们可以配置系统定制任务或其他定时任务来执行这条续签命令。
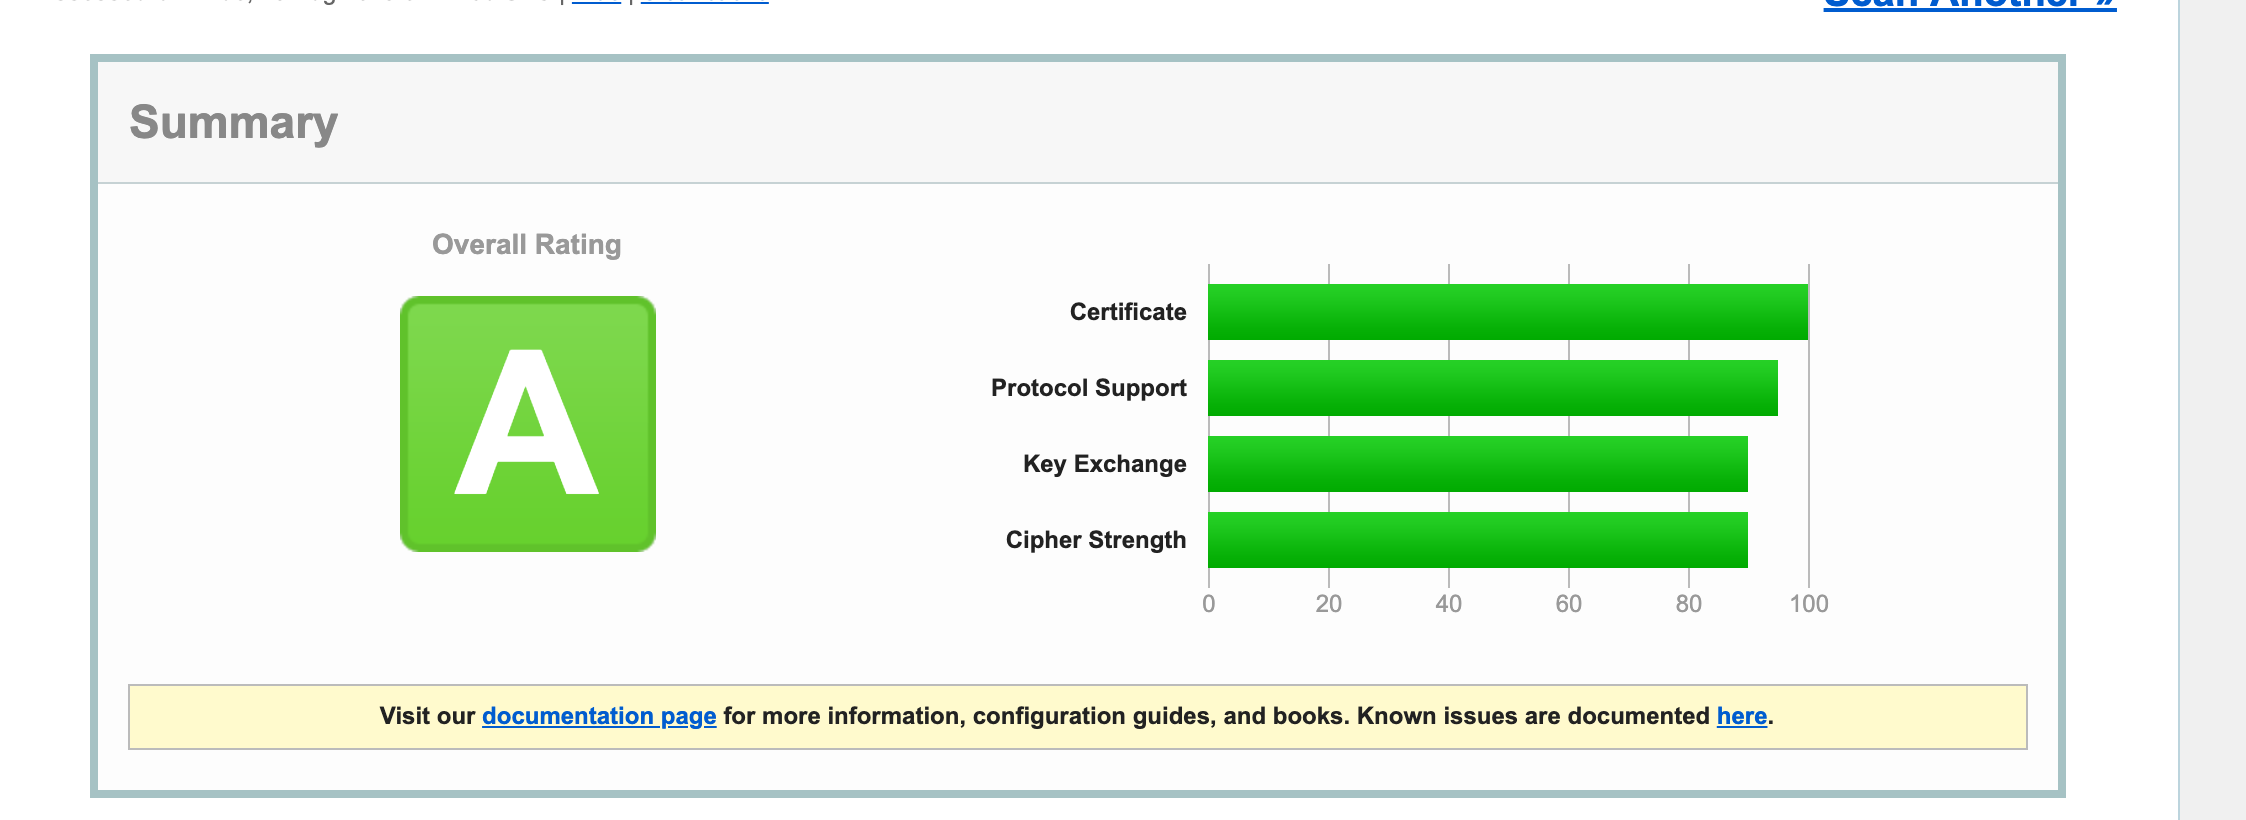
至此,我们基于Let's Encrypt和nginx 的HTTPS便部署完成了。我们可以使用[Qualys SSL Labs]来全面的测试下我们的网站,如下:

扩展阅读
附录
- 0.SSL/TLS协议运行机制的概述
- 1.HTTPS升级指南系列文章-阮一峰
- 2.certbot 的使用文档
- 3.ACME协议
- Automatic Certificate Management Environment=ACME,自动认证管理环境协议
- 协议草案已经提交IETF
- ACME协议的基本思路是:
- 在你服务器上生成一次性的随机特征数据(nonce)
- 然后通过Let’s Encrypt的服务器核对这个数据
- 核对成功发放证书
- 有两种方式,HTTP和DNS,一般使用的是前者